Millie had a Little Lamb coming 2026!
Written by: Mallary Zimpfer // Illustrated by: Kirby Rader
8x10” soft cover
Step 1 - Find the character
The first task at hand, when I’m illustrating a children’s book, is to find the character. And I do mean “find.” I have found that illustrating feels a lot like a game of hide and seek. I can see what I’m looking for tucked away in my mind. It takes my hands quite awhile to search out what I’m looking for!
To find Millie, I looked through a lot of pictures of this character’s namesake- the author’s daughter, Millie!
Step 2 - Thumbnail sketches
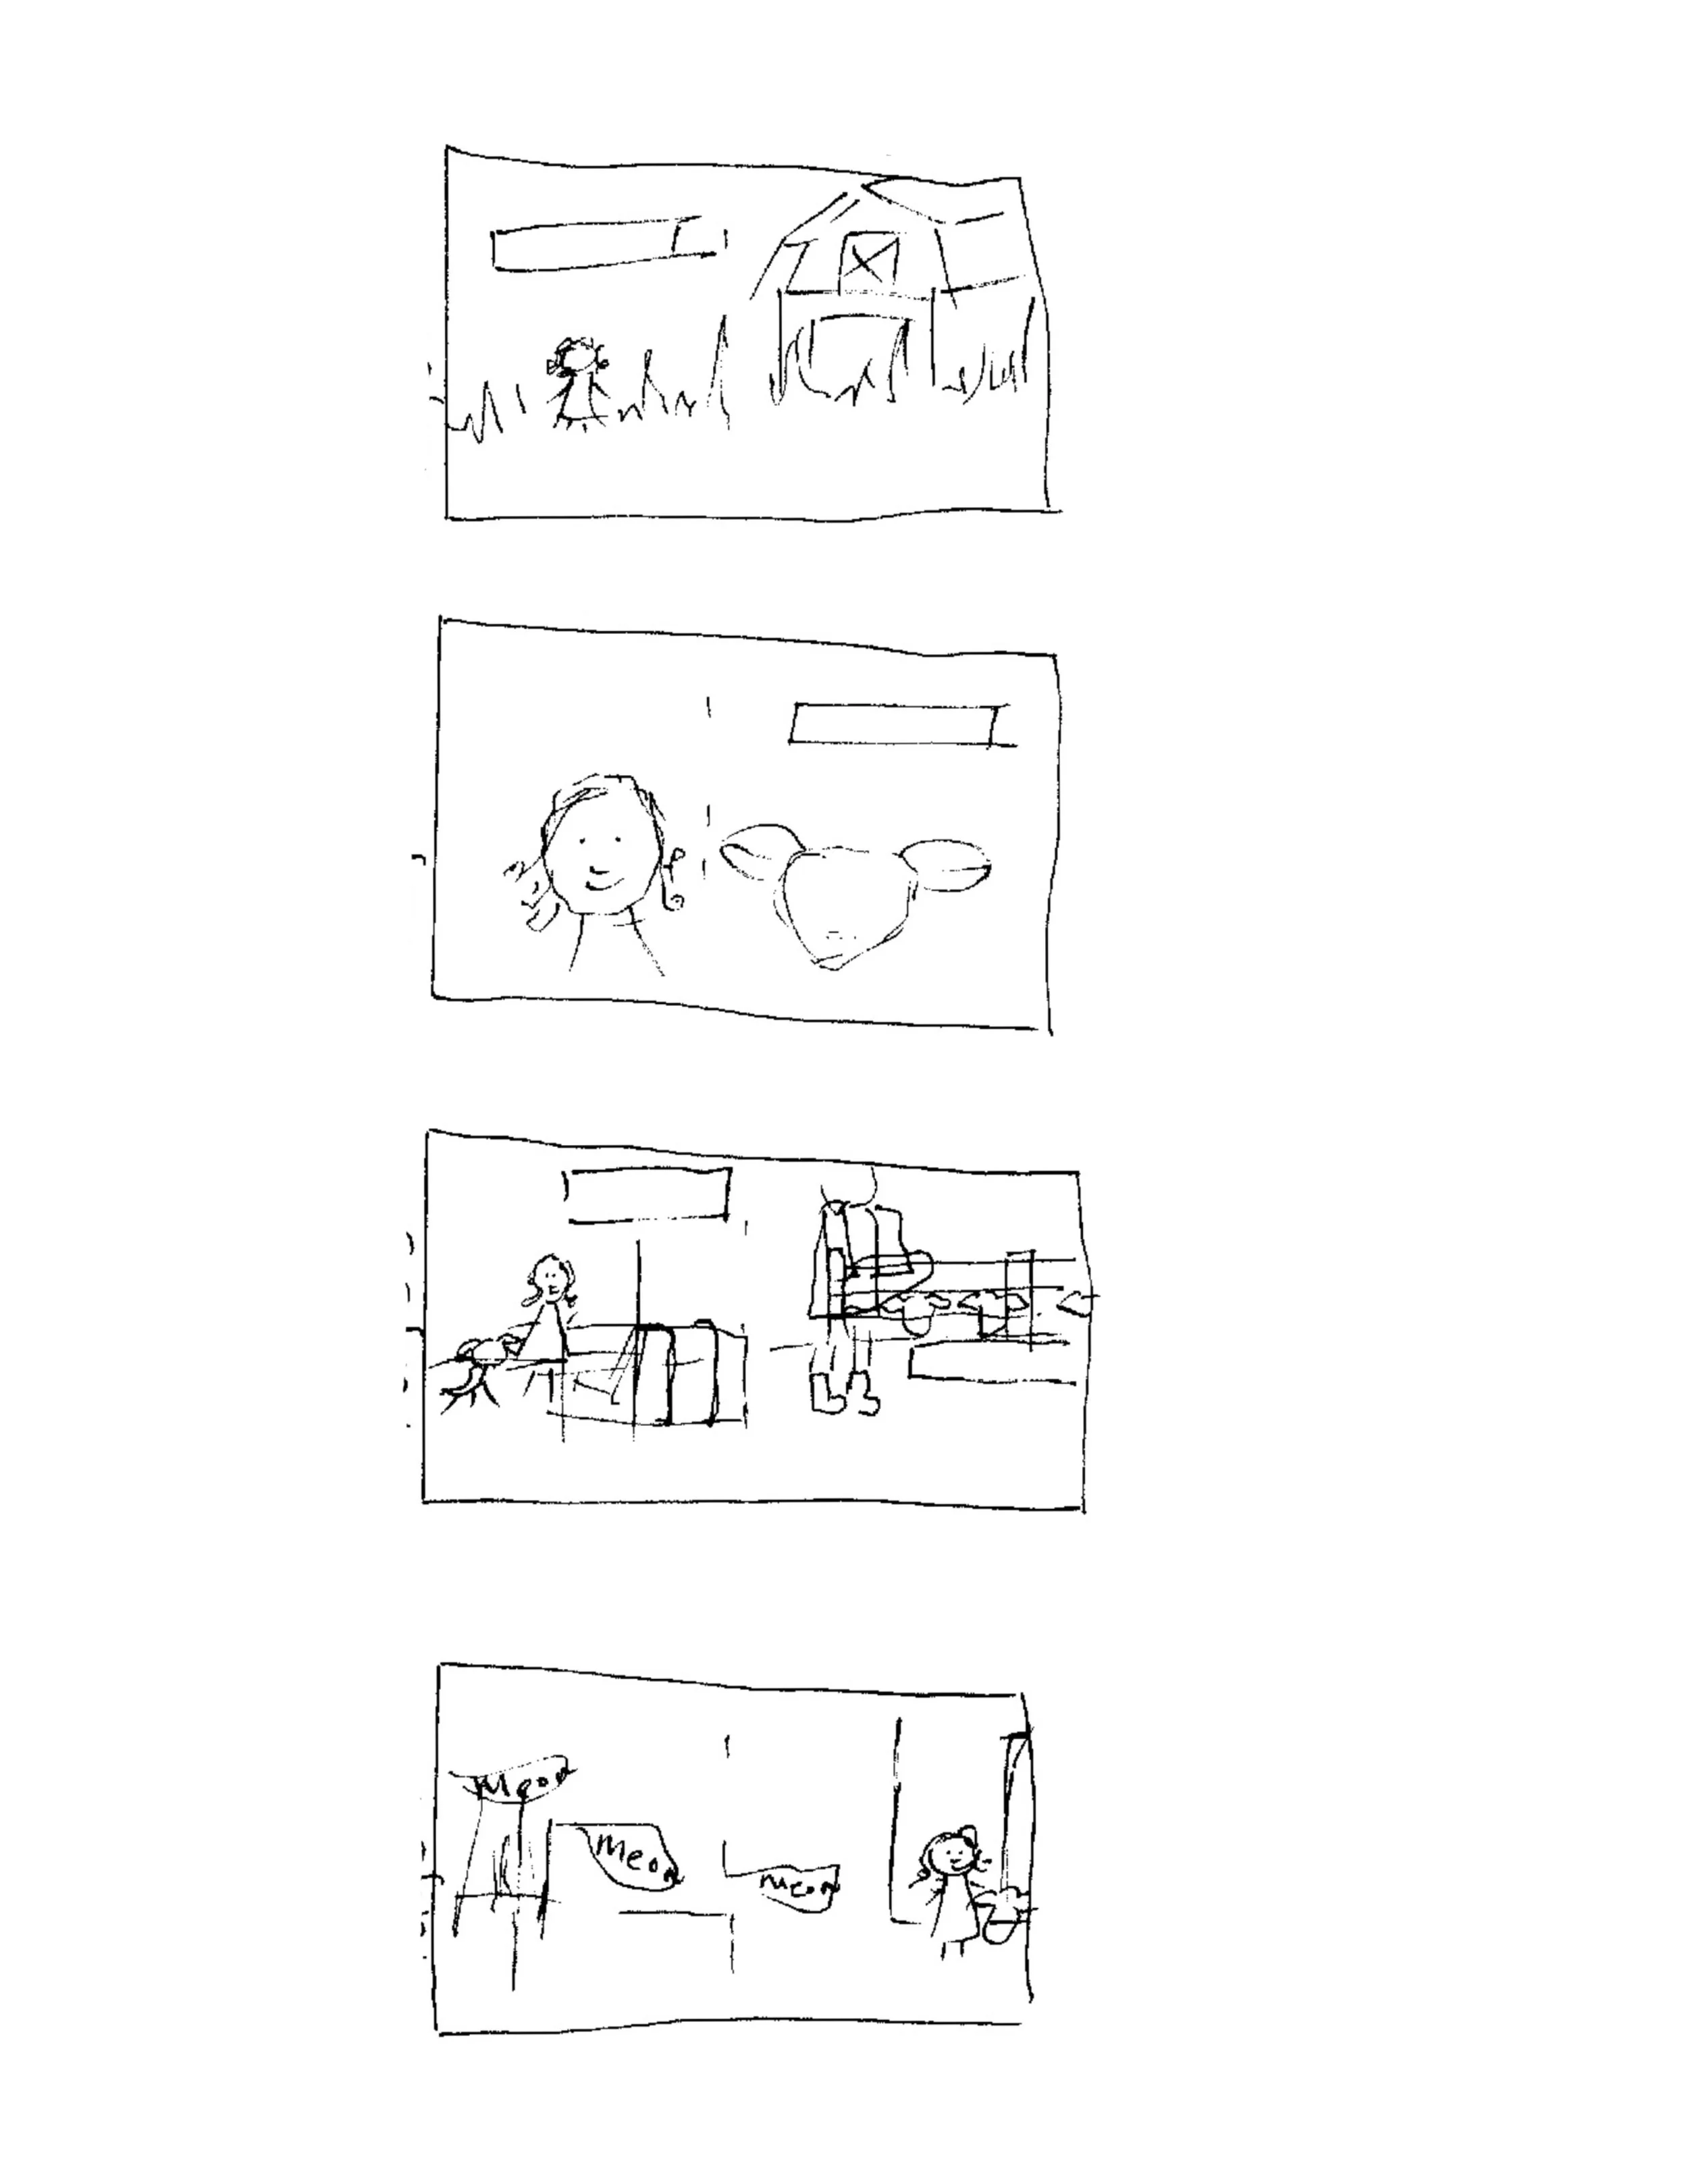
Once I find the characters, or maybe at the same time I’m in the hunt, I sketch out 1”x2” boxes and begin to imagine the page layout. This is where I get the first idea of how the characters interact with their surroundings.
Millie spends most of her time out at the farm, and then in her bedroom. That meant I could think of fences, feed troughs, and straw bales at the farm. And for her bedroom, I could imagine wallpaper, bedding and pictures on the wall.
Step 3 - Color Story
I love hunting through my art supplies to find just the right colors for each piece of the book. I primarily use tubes of watercolor paint and watercolor brush pens to add the overall color. Once dry, I can go back in with the watercolor brush pens or acrylic pens to add the final details.
Millie really does have blonde hair and blue eyes; these were details I wanted to keep in her character, too. Mallary requested a traditional red barn, and black and white sheep.
Step 4 - Large Sketches
Before I begin final drawings, I want to make sure I have a better sense of the real space I’ll be working in. For this, I use 11”x17” paper. I tend to find there’s more space to fill than I realized!
In Millie’s case, I discovered I had more space in the barn to fill than I first realized (3rd sketch down).
Step 5 - Final Drawings
Things start to feel pretty exciting right now. The lines I draw at this point are the lines that will make the final product. Like most of my artwork, the final drawings are done on my iPad in procreate, and then printed.
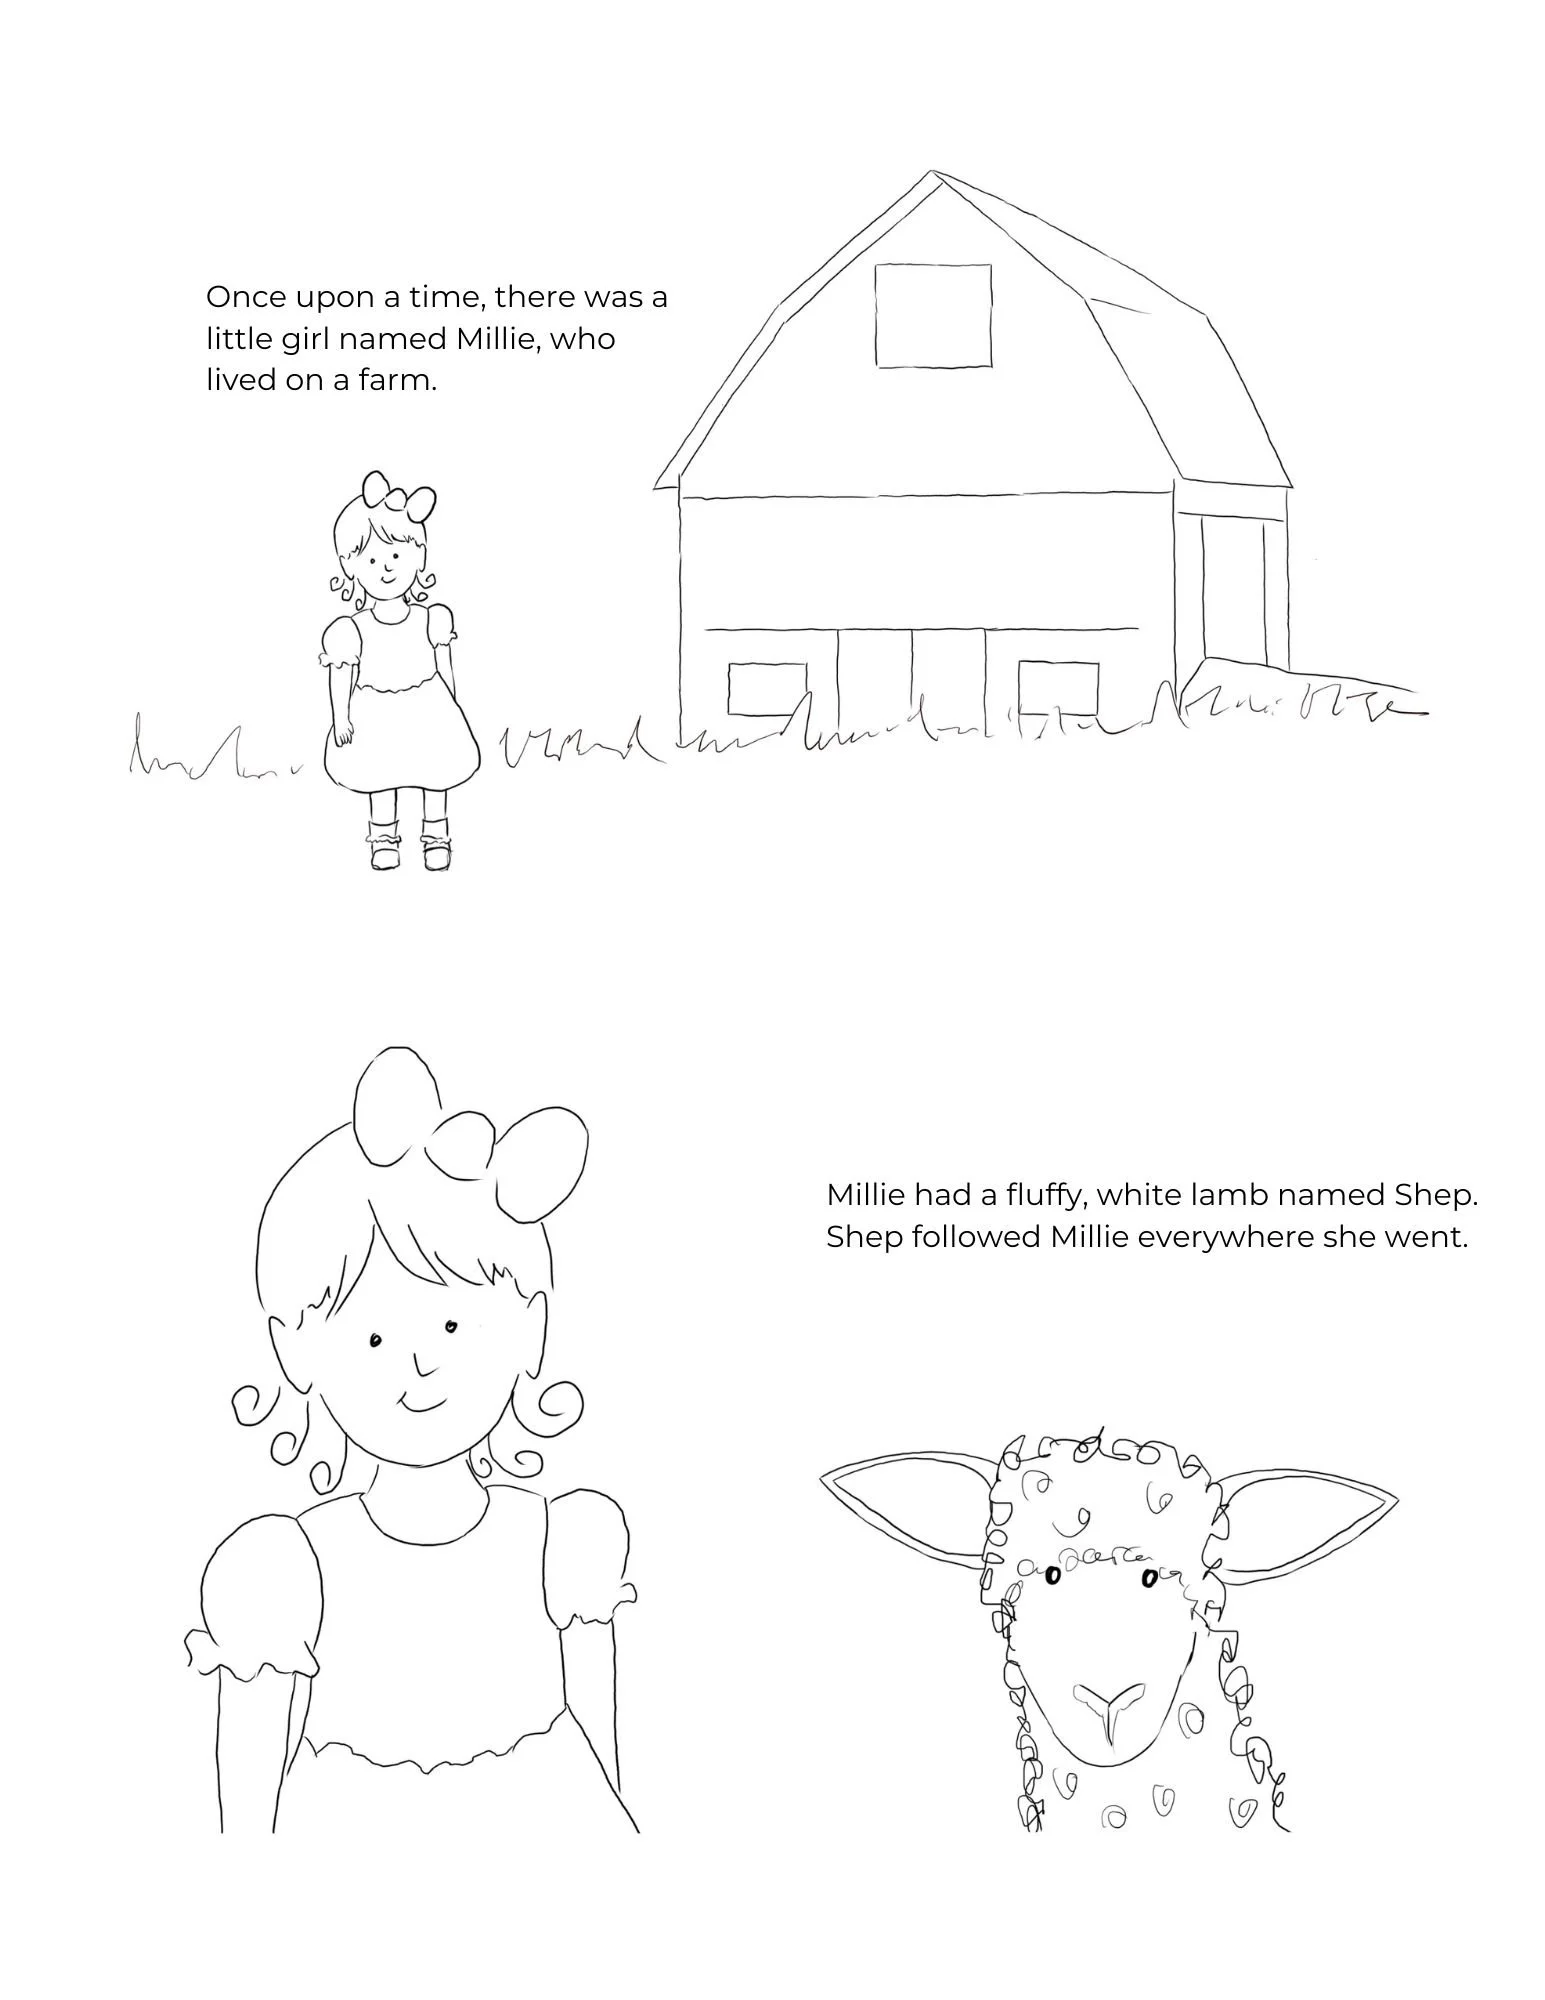
It’s at this step that my daughters come in; they are the best (and most honest) critics I could come by. These are the final drawings for pages 1 and 2.
Step 6 - Color
This is my favorite part of the process, and the step I find the most natural- adding color! Once final drawings have been printed from my iPad onto cold press watercolor paper, color is added and the characters finally come to life.
Check back soon; I’m nearly to this step.
Step 7 - Typesetting
After the pages have been illustrated, printed, and painted, the pages are scanned to my computer so I can add in the copy digitally. This includes formatting a book cover, so it’s prepared for publishing!
Come back soon to see these pages in color.


